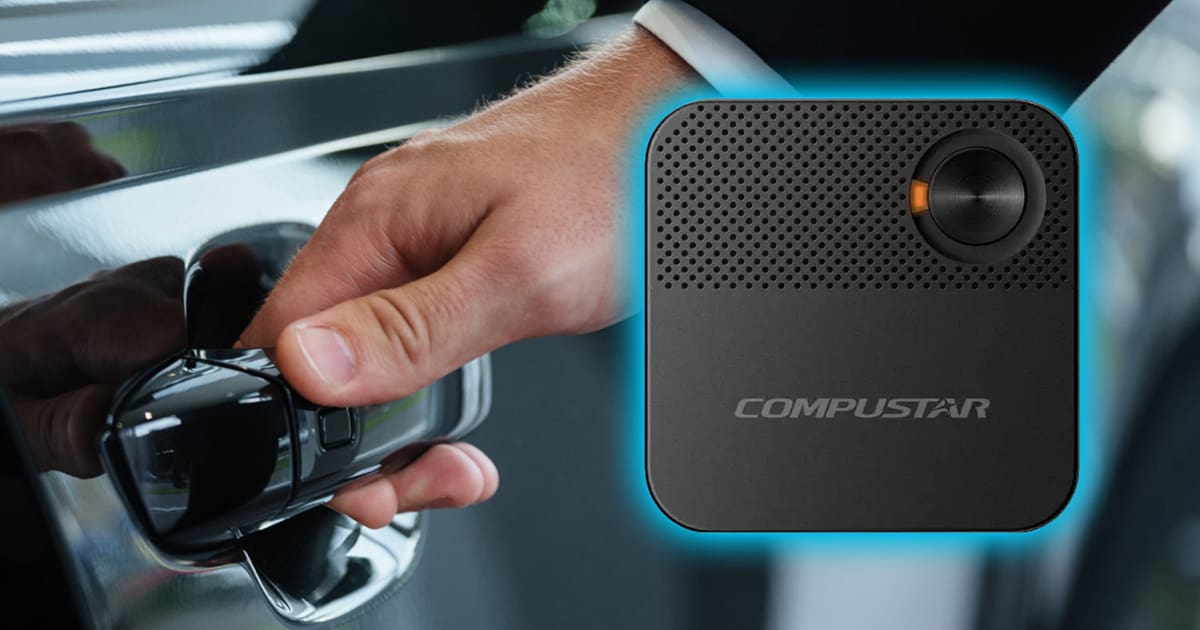
 Compustar was one of the first brands to allow consumers to choose a remote control package to accompany their remote start controller. Previously, we looked at flagship-level solutions like the PRO T13 and PRO R5. In this spotlight, we’re taking a closer look at the new and more affordable 2WG17 remote package. Let’s check it out!
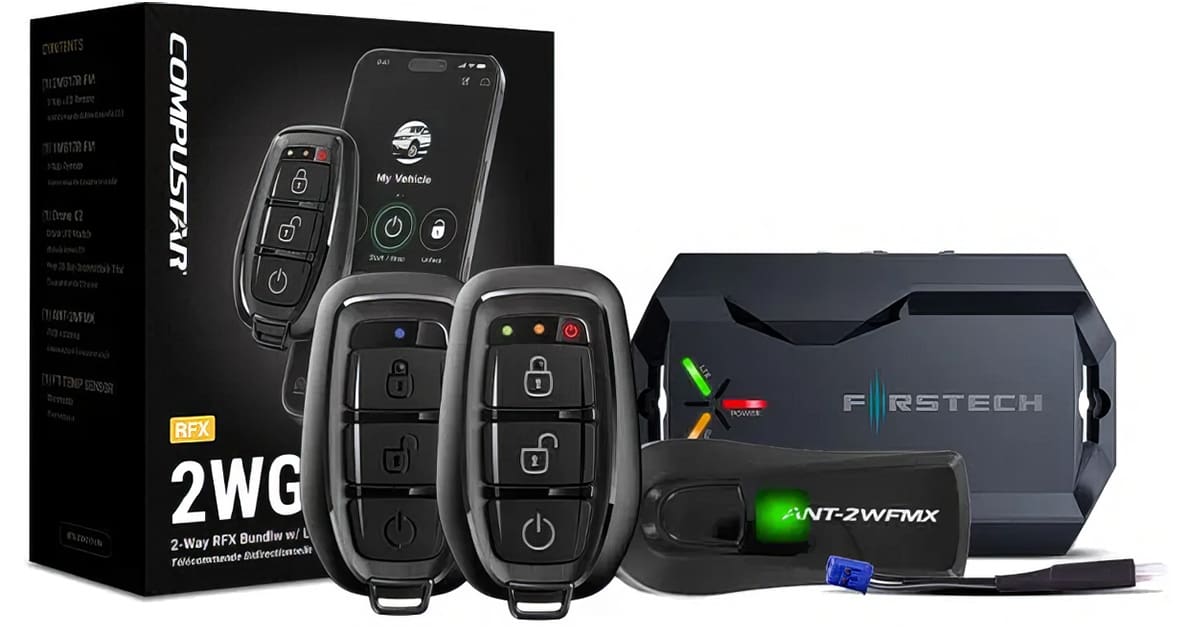
What’s Included with the 2WG17:
- The Compustar 2WG17 remote bundle includes:
- A pair of three-button remote controls
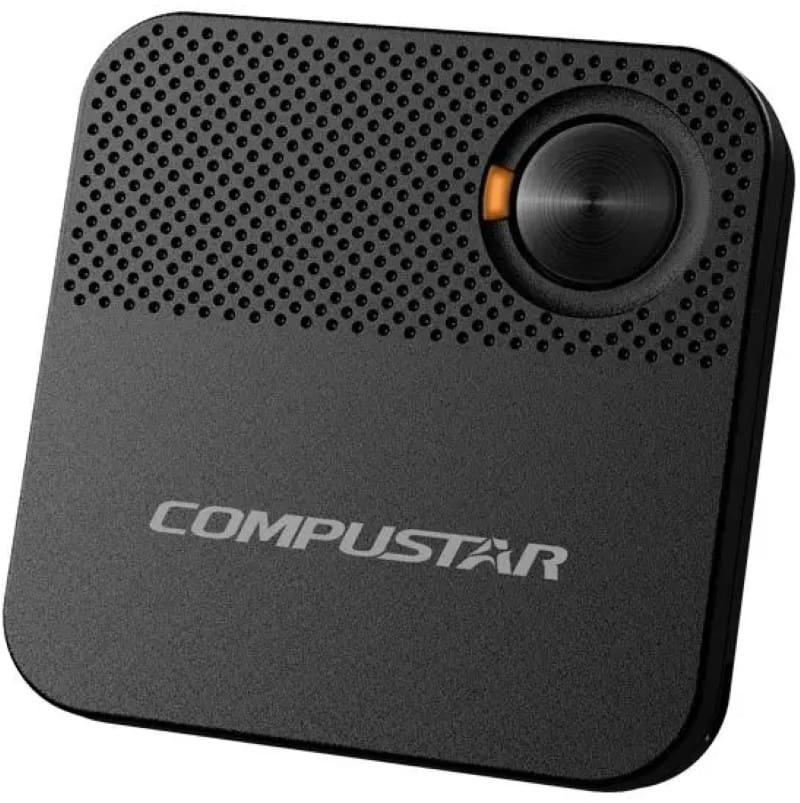
- A Drone X2/LTE module
- An antenna with cable
- A temperature sensor
Your authorized retailer can recommend the most suitable system controller for your vehicle. If you’re looking for full-featured performance, something like the CM-X is a popular and capable choice.
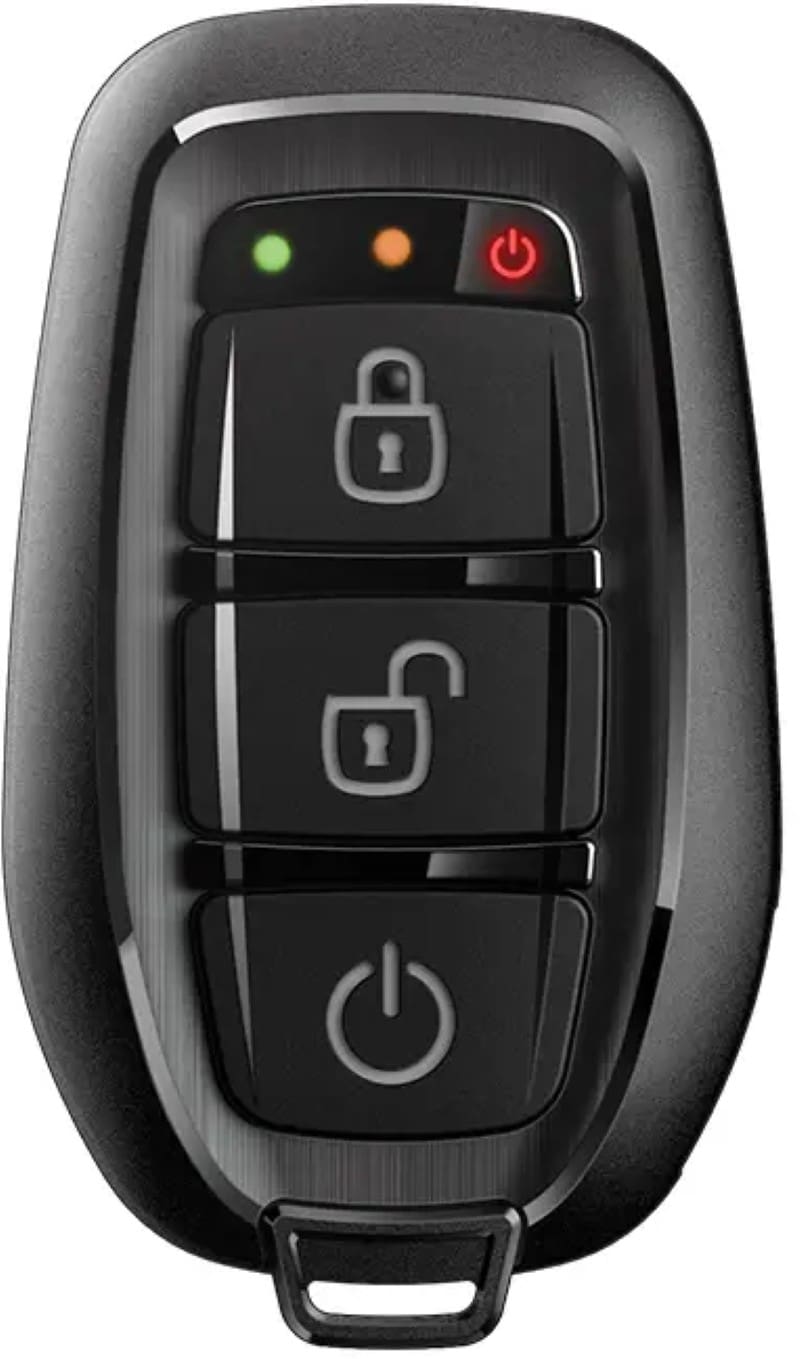
2-Way Remote Control
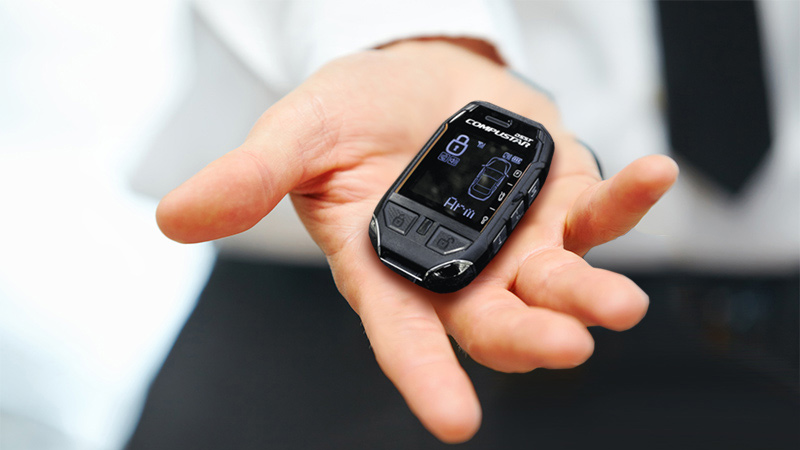
Taking a closer look, we see that the remotes included in this kit differ from each other. The primary remote, model 2WG17R-FM, is a two-way unit. It features three buttons, and three LED indicators located just above the top button. These LEDs confirm when a command like locking or remote starting is successfully received and executed by the vehicle control module.
The LEDs also indicate the remaining engine runtime when the vehicle is running via remote start:
- All three LEDs flash when 100% of runtime remains
- Center and right LEDs flash at 50%
- Only the right LED (start icon) flashes at 25%
Don’t be fooled by the remote’s simple three-button design. Lock, unlock, and remote start are directly accessible, while advanced functions are handled through intuitive button combinations:
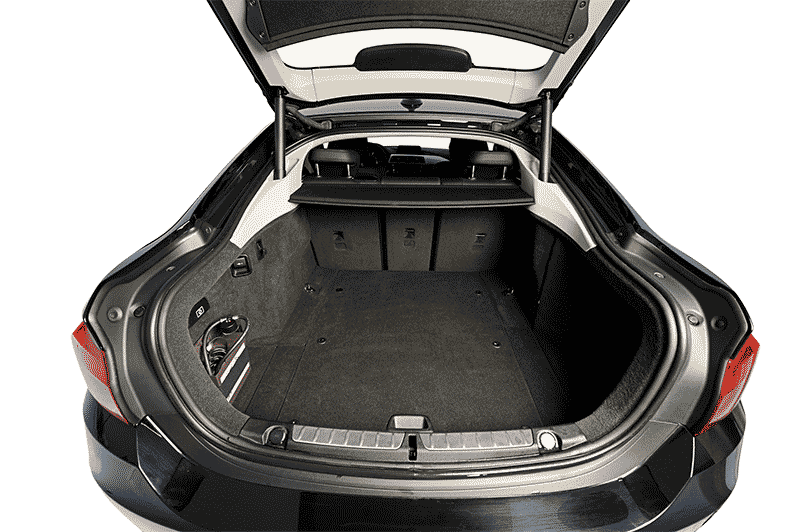
- Trunk release: Press and hold the unlock button for 2.5 seconds
- Auxiliary output 1: Press start, then double-press the lock button
- Auxiliary output 2: Press start, then double-press the unlock button
These outputs can be programmed to control functions like sliding doors, tailgate glass releases, or additional lighting.
Using other button combinations, you can also control features such as siren chirps, shock sensor settings, valet mode, ignition-controlled door locks, passive locking, and turbo timer activation. This makes the remote highly customizable to fit your specific needs.
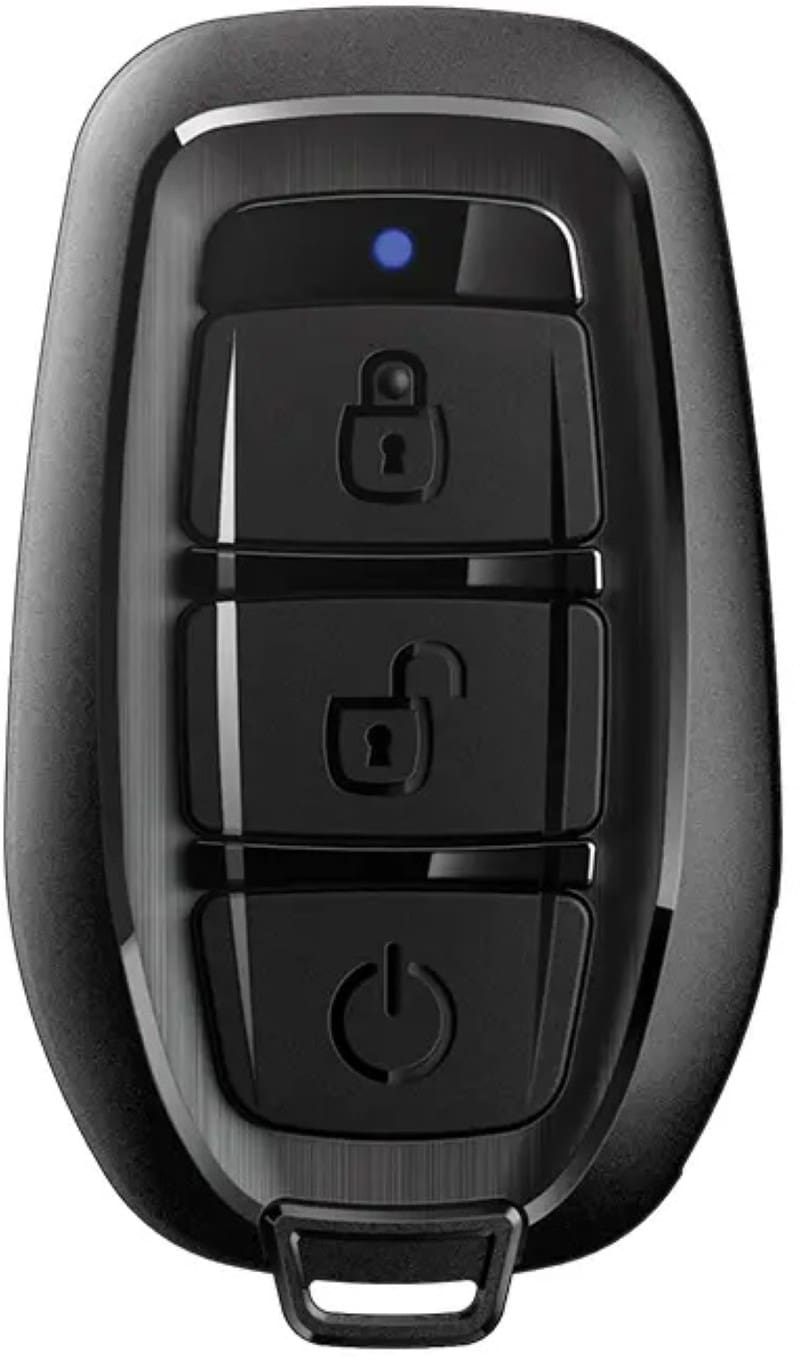
1-Way Remote Control
The secondary remote, model 1WG17-FM, offers similar core control functions but does not include 2-way confirmation LEDs. It’s a great backup remote or a simpler option for another household driver.
Both remotes feature up to 3,000 feet of range thanks to Frequency Modulation (FM) signal transmission. That’s enough to start your vehicle from inside a small apartment, office building, or even across a massive parking lot.
Another standout feature is that both remotes are water-resistant. It should keep functioning without issue if you accidentally drop your key fob in a puddle or snowbank. This durability adds a layer of everyday peace of mind and extends the lifespan of your investment.
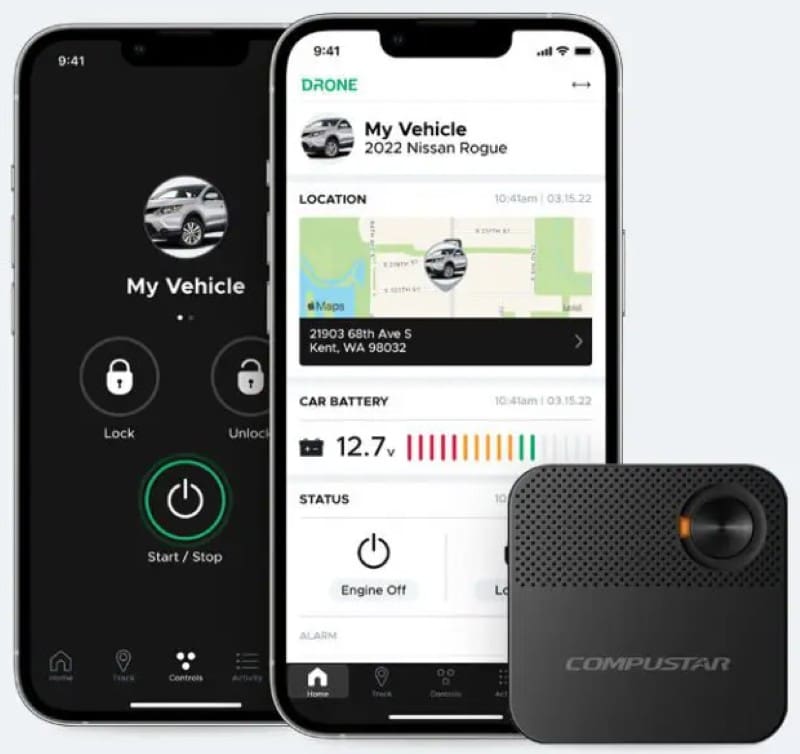
Drone Smartphone Control
The 2WG17 package includes a Drone X2/LTE module for smartphone control. When paired with the DroneMobile app, you gain full access to your remote start system from virtually anywhere your phone has internet access.
You can:
- Lock or unlock the doors
- Start or stop the engine
- Release the trunk
- Activate auxiliary features
Whether at the office or vacationing in another country, you can easily check the vehicle’s status or control it. On the beach in Mexico and want make sure the doors are locked – it’s as simple a tapping an icon in the DroneMobile app.
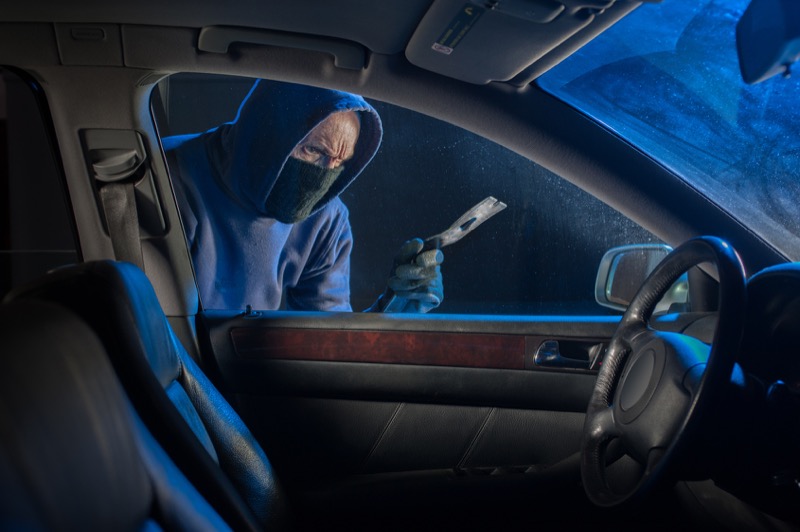
GPS tracking is also enabled with a compatible service plan. If your vehicle is moved—say, loaded onto a flatbed—you’ll receive a notification. You can then alert authorities and provide your vehicle’s location in real time.
Retailers can walk you through the available service plans and help you select one that matches your needs.

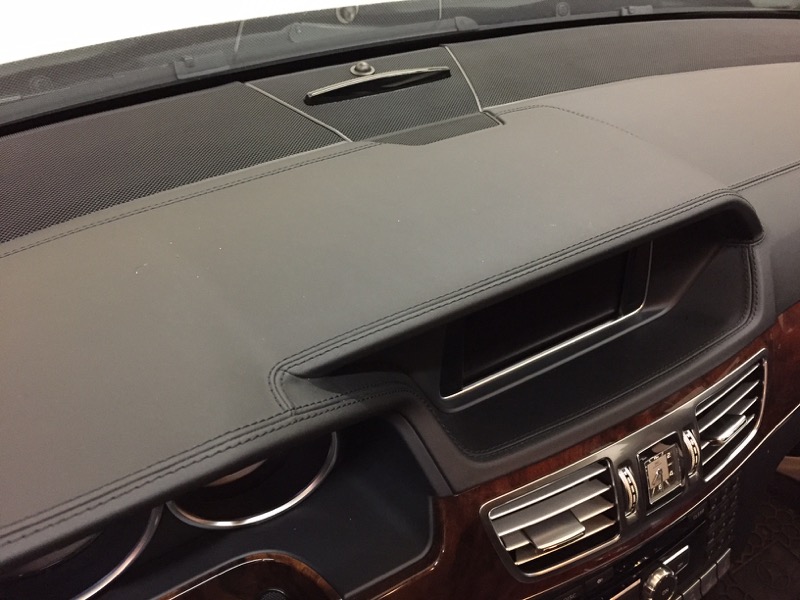
Ready to Roll in Comfort
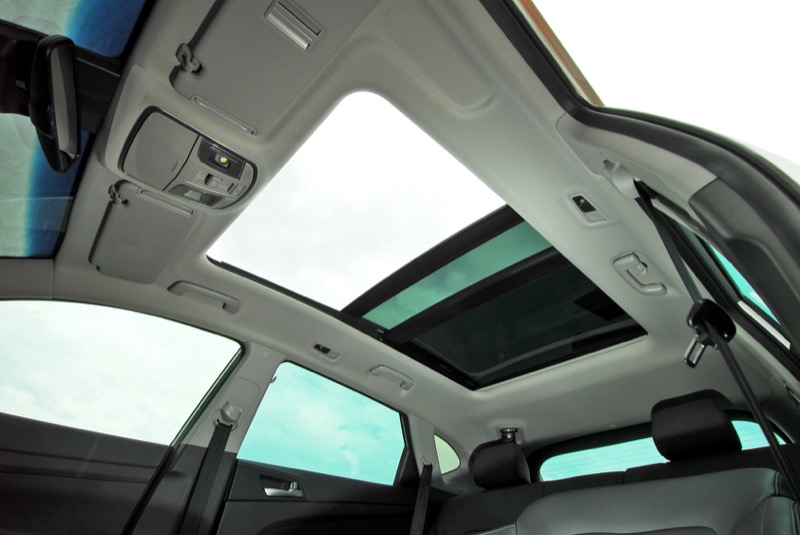
The included temperature sensor allows for automatic climate-related activation features. For instance, you can:
- Automatically turn on the rear window defroster when starting the vehicle in cold temperatures
- Trigger heated seats or a heated steering wheel
The product specialist helping to configure your system can tell you which factory features in your vehicle are compatible with these automatic activations. These small touches add significant comfort and convenience during extreme weather.
Add Comfort with a Compustar 2WG17 Remote Car Starter
Whether you live in Montana or New York and dread frigid winter mornings, or you’re in Florida or Texas and want to avoid stepping into a sweltering vehicle, a remote car starter from Compustar ensures your ride is comfortable every time you get in.
The 2WG17 remote kit offers high-quality, affordable functionality. It combines convenience, rugged durability, and peace of mind thanks to two-way command confirmation. It’s a smart upgrade for any vehicle.
For more information on the Compustar 2WG17 remote kit or any of Compustar’s remote car starter and vehicle security solutions, drop by a local authorized retailer. You can find a shop near you using the dealer locator tool on the Compustar website. Be sure to follow Compustar on Facebook, Instagram, and, of course, on YouTube to learn about the new technologies they bring to the market.
This article is written and produced by the team at www.BestCarAudio.com. Reproduction or use of any kind is prohibited without the express written permission of 1sixty8 media.